Dark Souls 3 Interactive 3D Map
Find bonfires, bosses and shortcuts in Dark Souls 3. Explore an interactive 3D map to see how areas connect and plan your next route.
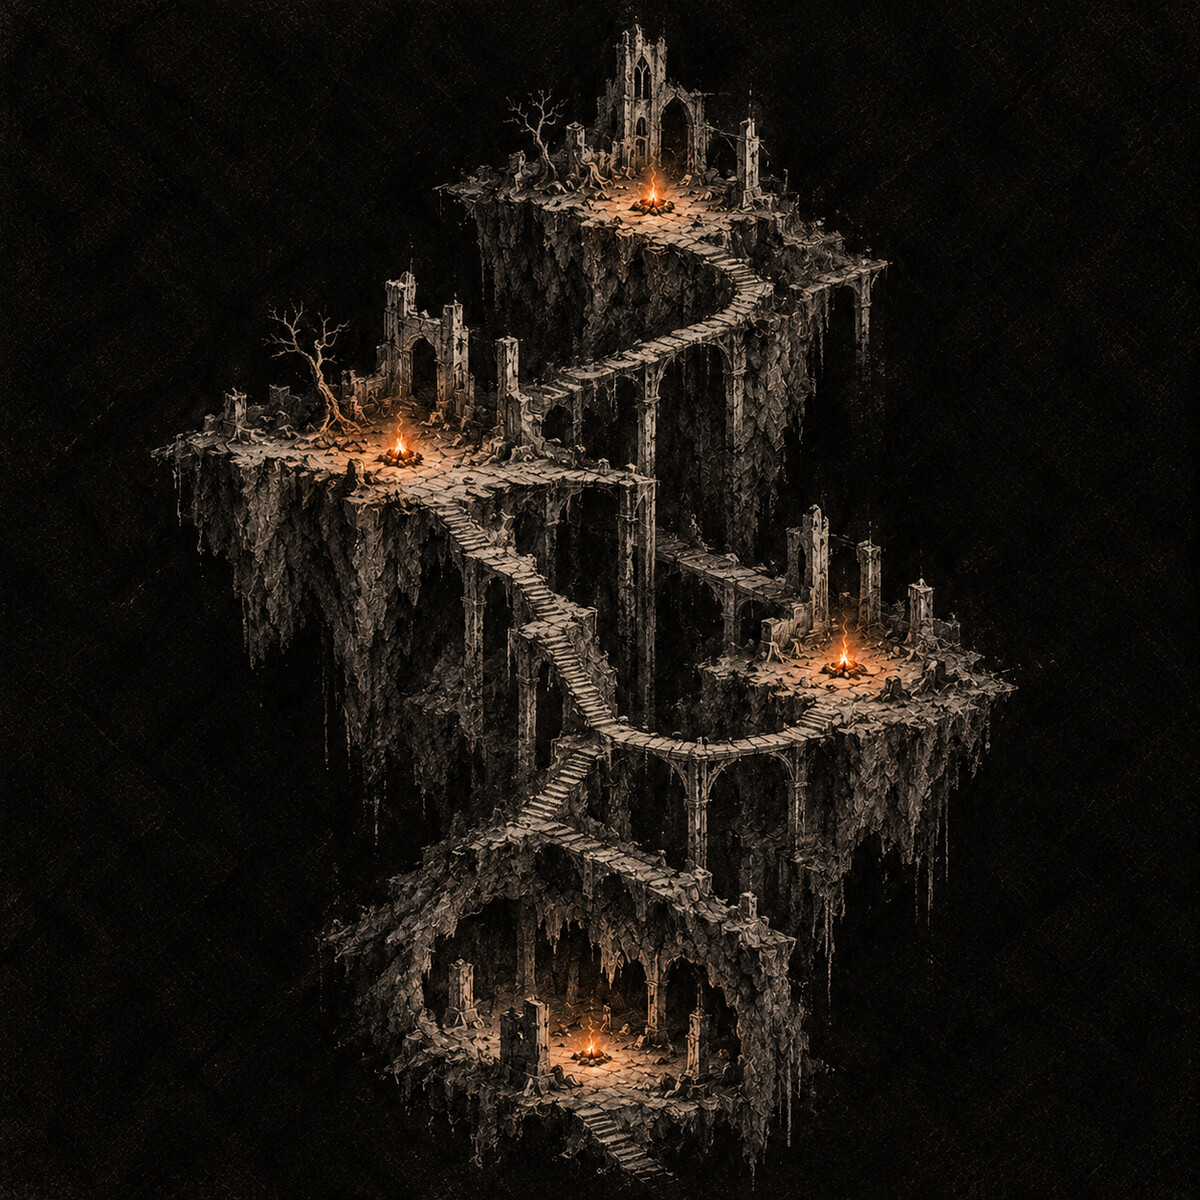
Explore Dark Souls 3 as an interactive 3D map in your browser. Rotate the world to understand how areas connect at different heights, then open an area view to compare its levels and routes. Search for recorded places to move the camera there. The line-art layout is schematic, not a scale model of the game's terrain.
Understand how the worlds of Dark Souls and Bloodborne connect in 3D
Rotate the 3D world map to compare area heights and follow the connections between them. Zoom from the world overview into an area, then use its level maps to understand the vertical structure. Routes distinguish ordinary paths, shortcuts, locked passages and warps; place markers help you locate recorded bonfires (lamps in Bloodborne), bosses, items and NPCs within that structure. The current data does not include every item or passage, and the line-art layout is schematic rather than a scale recreation of the terrain.
Rotate, zoom and explore the map's levels
Drag to rotate the 3D map and zoom to move between the world overview and area details. Open an area view to compare its levels in a 3D stack and inspect the selected level from above. Select a marker to see its area, level and recorded connections or requirements. Search by an English or Chinese place name to move the camera there, and use the layer controls to choose which kinds of places and routes are shown.
Game and DLC maps
The Dark Souls 3 map covers the base game, Ashes of Ariandel and The Ringed City. Browse the area maps below, or switch game for the separate world maps of Dark Souls Remastered, Dark Souls II and Bloodborne.
Area maps
- Cemetery of Ash
- Firelink Shrine
- Untended Graves
- High Wall of Lothric
- Lothric Castle
- Consumed King's Garden
- Grand Archives
- Undead Settlement
- Road of Sacrifices
- Cathedral of the Deep
- Farron Keep
- Catacombs of Carthus
- Smouldering Lake
- Irithyll of the Boreal Valley
- Anor Londo
- Irithyll Dungeon
- Profaned Capital
- Archdragon Peak
- Kiln of the First Flame
- Painted World of Ariandel
- The Dreg Heap
- The Ringed City
- Filianore's Rest
Boss
- Iudex Gundyr
- Champion Gundyr
- Vordt of the Boreal Valley
- Dancer of the Boreal Valley
- Dragonslayer Armour
- Oceiros, the Consumed King
- Lothric, Younger Prince & Lorian, Elder Prince
- Curse-Rotted Greatwood
- Crystal Sage
- Deacons of the Deep
- Abyss Watchers
- High Lord Wolnir
- Old Demon King
- Pontiff Sulyvahn
- Aldrich, Devourer of Gods
- Yhorm the Giant
- Ancient Wyvern
- Nameless King
- Soul of Cinder
- Champion's Gravetender & Gravetender Greatwolf
- Sister Friede
- Demon Prince
- Halflight, Spear of the Church
- Darkeater Midir
- Slave Knight Gael
Bonfire
Notable enemy
Item
NPC
- Fire Keeper
- Shrine Handmaid
- Blacksmith Andre
- Ludleth of Courland
- Emma, High Priestess of Lothric Castle
- Greirat of the Undead Settlement
- Siegward — tower lift
- Siegward — demon overlook
- Giant archer platform
- Siegward — chapel well
- Slave Knight Gael
- Rosaria, Mother of Rebirth
- Siegward — soup kitchen
- Siegward — old cell
Door / gate
Secret
Landmark
- Broken fountain
- Cliffside path
- Courtyard entrance
- Thrones of the Lords of Cinder
- Shrine entrance
- Swordmaster stairs
- Forge passage
- Rooftop nest
- Shrine rafters
- Tower walkway
- Untended Firelink Shrine
- Lizard fork
- Twin lizard clearing
- Black knight approach
- Side walkway and small tower
- Dragon platform
- Fork before the dragon
- Dragon platform items
- Room under the dragon
- Lower path past the dragon
- Rooftop exit
- Hollow rooftop
- Rooftop ladder
- Anvil room
- Winged knight fountain
- Chapel junction
- Shortcut lift
- Ladder-top junction
- Winged knight tower
- Two-dragon bridge
- Bridge trench
- Gate mechanism room
- Garden lift approach
- Garden lift bottom
- Raised garden platform
- Knight plaza
- Return lift
- Wax pool
- Bookcase stairs
- Broken roof window
- Three-fighter steps
- Winged knight spire
- Long boss stairs
- Burning tree
- Barrel bridge
- White tree graveyard
- Rat tunnel
- Tower entrance
- Corvian bridge
- Ruined hall
- Swamp descent ladder
- Rising graveyard
- Roof entrance
- Giant-side gallery
- Giant hall floor
- High rafters
- Keep flame 1/3
- Keep flame 2/3
- Keep flame 3/3
- Wolf tower ladder
- Broken bridge demon
- Darkwraith approach
- Carthus Rope Bridge
- Upper entrance
- Skeleton ball stairs
- Rat corridor
- Bone-strewn chamber
- Goblet chamber
- Bridge-bottom demon room
- Lake entrance
- Sandworm shore
- Fire demon hall
- Basilisk chamber
- Ballista ladder base
- Ballista platform
- Street fountain
- Dark cellar
- River fork
- Soup kitchen
- Silver knight hall
- Giant courtyard
- Archer buttresses
- Rotating tower
- Silver knight stairs
- Giant blacksmith room
- Dark cathedral hall
- Dragon statue (to Archdragon Peak)
- Cellblock bridge
- Sleeping giant chamber
- Rat tunnel
- Jailer hall
- Capital exit bridge
- Broken tower base
- Gargoyle bridge
- Handmaid hall
- Toxic chapel
- Chapel roof
- Great Belfry bell
- Wyvern courtyard gate
- Serpent walkway
- Plunge platform
- Summoner hall
- Bell approach
- Shrine exit
- Ash-covered ascent
- Stone tower ruins
- Bridge cave side
- Bridge chapel side
- Village rooftops
- Village library
- Felled tree crossing
- Fly basement
- Basement crank
- Exposed roots
- Cliff slide
- Ruined church
- Fallen tower crossing
- Broken windmill
- Giant root ramp
- Toppled spire ledge
- Princess Filianore
- Archer cover stones
- Legion stairway
- Swamp landmark
- Fire-covered bridge
- Dragon confrontation bridge
- Church-side lift
- Hidden drop shaft
- Ash slope
- Isolated ruined chapel
- Lone knight dunes
Shortcuts & routes
- Down the tower to the rooftop exit
- Rooftop ladder to the indoor route
- Rooftop ledges down to the courtyard
- First bonfire lift
- Tower descent to the cells
- Descend into the garden
- Garden return lift
- Open garden shortcut
- Upper library return lift
- Double doors from the Greatwood courtyard
- Tower lift upward
- Tower lift downward
- Ladder shortcut to Cleansing Chapel
- Gallery lift to chapel
- Open chapel return doors
- Lever bridge to the graveyard
- Farron Keep great door
- Wolf tower lift
- Cut bridge: descend to the tomb
- Long ladders to the ballista
- Open gate to church
- Open cathedral front door
- Meditation ledge return lift
- Climb to chapel roof
- After the wyvern: mausoleum
- Ring the bell: Nameless King
- Plunge onto the wyvern
- Bridge-side ladder to village route
- Cut bridge and descend the roots
- Cliff slide toward the village
- Open basement return door
- Ash-covered descent to the ruins
- Shortcut lift to inner wall
- Hidden ladder to the chasm
- Drop into the hidden dragon arena
- Roof window to the old cell
- Travel to the High Wall
- Small Lothric Banner to Undead Settlement
- Ladder down to the swamp
- Garden lift branch
- To the Kiln of the First Flame
- To The Dreg Heap (DLC2)
- To The Dreg Heap from the Ariandel chapel
- Princes approach lift to castle