Dark Souls Remastered Interactive 3D Map
Find bonfires, bosses and shortcuts in Dark Souls Remastered. Explore an interactive 3D map to see how areas connect and plan your next route.
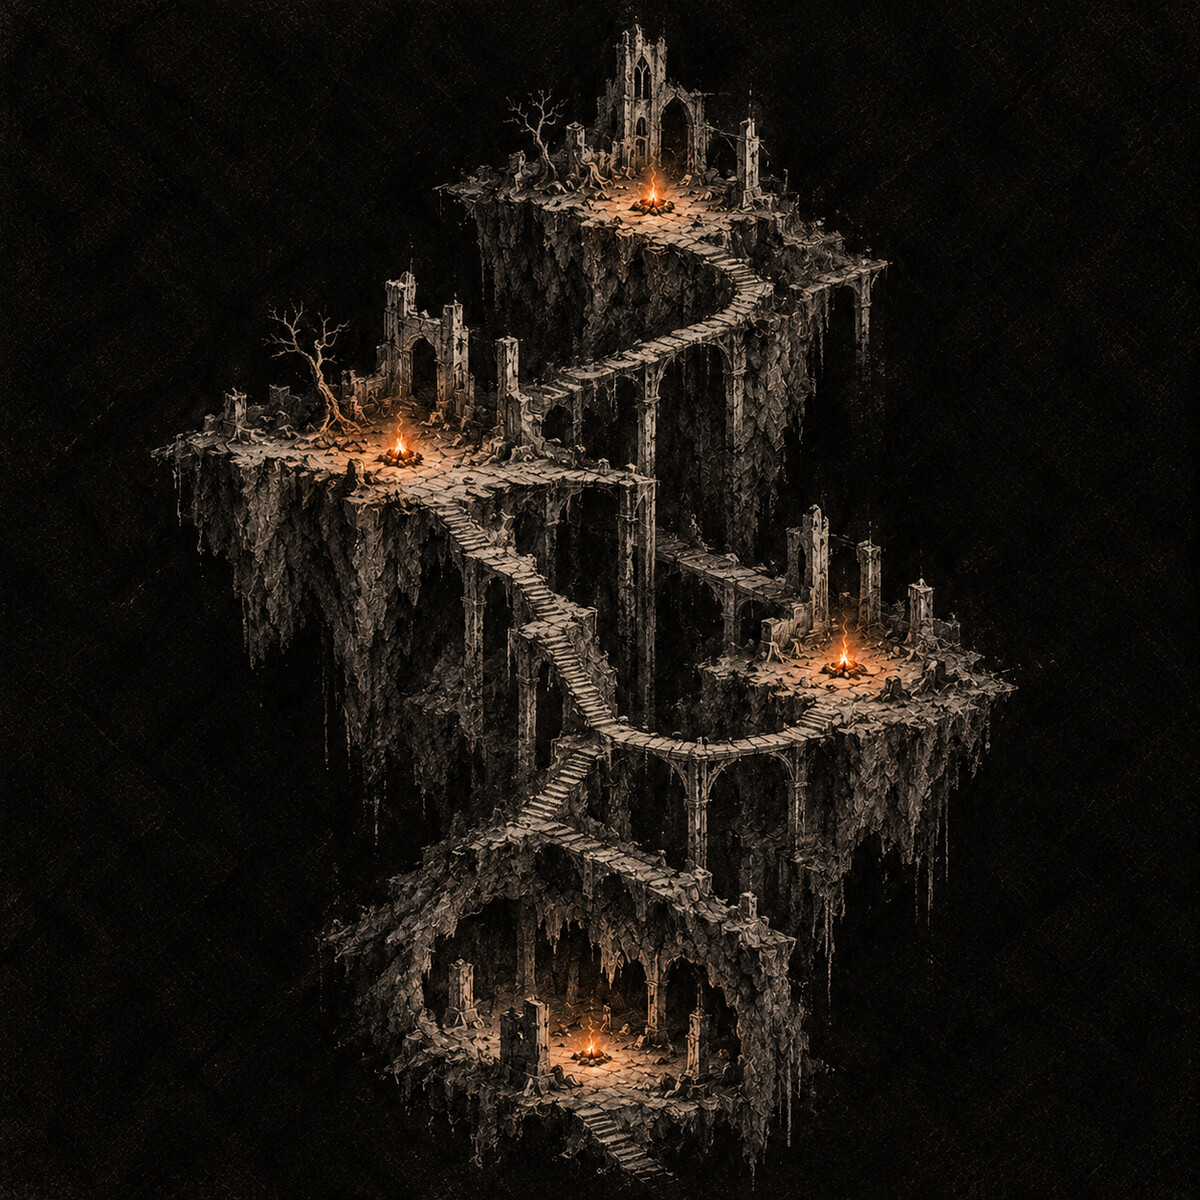
Explore Dark Souls Remastered as an interactive 3D map in your browser. Rotate the world to understand how areas connect at different heights, then open an area view to compare its levels and routes. Search for recorded places to move the camera there. The line-art layout is schematic, not a scale model of the game's terrain.
Understand how the worlds of Dark Souls and Bloodborne connect in 3D
Rotate the 3D world map to compare area heights and follow the connections between them. Zoom from the world overview into an area, then use its level maps to understand the vertical structure. Routes distinguish ordinary paths, shortcuts, locked passages and warps; place markers help you locate recorded bonfires (lamps in Bloodborne), bosses, items and NPCs within that structure. The current data does not include every item or passage, and the line-art layout is schematic rather than a scale recreation of the terrain.
Rotate, zoom and explore the map's levels
Drag to rotate the 3D map and zoom to move between the world overview and area details. Open an area view to compare its levels in a 3D stack and inspect the selected level from above. Select a marker to see its area, level and recorded connections or requirements. Search by an English or Chinese place name to move the camera there, and use the layer controls to choose which kinds of places and routes are shown.
Game and DLC maps
The Dark Souls map covers Dark Souls Remastered and Artorias of the Abyss. Browse the area maps below, or switch game for the separate world maps of Dark Souls II, Dark Souls 3 and Bloodborne.
Mini-games
Area maps
- Northern Undead Asylum
- Firelink Shrine
- Undead Burg
- Undead Parish
- Lower Undead Burg
- The Depths
- Blighttown
- Quelaag's Domain
- The Great Hollow
- Ash Lake
- Darkroot Garden
- Darkroot Basin
- Valley of Drakes
- New Londo Ruins
- The Abyss
- The Catacombs
- Tomb of the Giants
- Sen's Fortress
- Anor Londo
- Painted World of Ariamis
- The Duke's Archives
- Crystal Cave
- Demon Ruins
- Lost Izalith
- Kiln of the First Flame
- Oolacile Sanctuary
- Royal Wood
- Oolacile Township
- Chasm of the Abyss
Boss
- Asylum Demon
- Stray Demon
- Taurus Demon
- Bell Gargoyles
- Capra Demon
- Gaping Dragon
- Chaos Witch Quelaag
- Moonlight Butterfly
- Great Grey Wolf Sif
- The Four Kings
- Pinwheel
- Gravelord Nito
- Iron Golem
- Dark Sun Gwyndolin
- Ornstein & Smough
- Crossbreed Priscilla
- Seath the Scaleless
- Ceaseless Discharge
- Demon Firesage
- Centipede Demon
- Bed of Chaos
- Gwyn, Lord of Cinder
- Sanctuary Guardian
- Black Dragon Kalameet
- Knight Artorias
- Manus, Father of the Abyss
Bonfire
Notable enemy
- Asylum cell Black Knight
- Asylum hall Black Knight
- Burg alley Black Knight
- Havel at the watchtower
- Parish tower Black Knight
- Titanite Demon passage
- Armored boar courtyard
- Hydra lake
- Basin cliff Black Knight
- Catacombs lower Black Knight
- Tomb ledge Black Knight
- Silver Knight archer — left
- Silver Knight archer — right
- Armored boar entrance
- Black knight approach
Item
NPC
- Oscar, Knight of Astora
- Crestfallen Warrior
- Petrus of Thorolund
- Fire Keeper
- Kingseeker Frampt
- Undead Merchant
- Solaire of Astora
- Andre of Astora
- Oswald of Carim
- Knight Lautrec of Carim
- Solaire — Sunlight Altar
- Griggs of Vinheim
- Laurentius of the Great Swamp
- Quelaag's Sister
- Everlasting Dragon
- Alvina of the Darkroot Wood
- Witch Beatrice — summon sign
- Dusk of Oolacile
- Ingward
- Darkstalker Kaathe
- Vamos
- Siegmeyer of Catarina
- Big Hat Logan
- Giant Blacksmith
- Gwynevere, Princess of Sunlight
- Solaire — cathedral room
- Solaire — after Centipede Demon
- Solaire — Chaos Bug passage
- Elizabeth
- Hawkeye Gough
Door / gate
Secret
Covenant
Landmark
- Courtyard side exit
- Demon balcony
- Crow cliff
- Return courtyard floor
- Crow nest
- Aqueduct arch
- Parish lift landing
- Graveyard path
- New Londo lift
- Hellkite bridge
- Firebomb crossing
- Rolling barrel stairs
- Bridge ladder shortcut
- First Bell of Awakening
- Church lift doors
- Upper church hall
- Entrance stair landing
- Ambush alley
- Aqueduct shortcut gate
- Butcher kitchen
- Giant rat chamber
- Basilisk tunnels
- Dragon arena stairs
- Depths entrance ladder
- Swaying wooden bridge
- Scaffold ladder descent
- Waterwheel lift base
- Valley tunnel exit
- Second Bell of Awakening
- Web-covered mound
- Demon Ruins passage
- Interwoven branches
- Trunk ladders
- Mushroom floor
- Hydra shoreline
- Hollow tree on the beach
- Wall beside the sealed gate
- Stone knight clearing
- Forest bridge beyond Alvina
- Portal to Oolacile
- Descending forest path
- Cave lift to the valley
- Waterfall ladder
- Basin lift cave
- Sleeping dragon cliff
- Rope bridge to Blighttown
- Large floodgate
- Floodgate
- Firelink lift exit
- Wooden ghost bridges
- Drained courtyard
- Abyss spiral stair tower
- Landing in the darkness
- Rotating bridge switch
- Open coffin passage
- Broken spiral staircase
- Bonewheel valley
- Sliding coffin descent
- Patches pit
- Final boss drop
- First pendulum bridge
- Boulder direction machine
- Hidden bonfire drop ledge
- Cage lift shortcut
- Painting of Ariamis
- Narrow buttress
- Painting guardian rafters
- Rotating stair tower
- Archer approach ramp
- Silver knight archer ledge
- Cathedral balcony entrance
- Great hall doors
- Spear formation courtyard
- Courtyard well
- Underground door lever
- Plank beyond Priscilla
- First Seath chamber
- Prison gramophone
- Rotating library stairs
- Bookcase passage to the garden
- Invisible crystal paths
- Garden crystal slope
- Clam cavern
- Primordial crystal
- Drained lava field
- Demon-guarded stairs
- Firesage side passage
- Lava tower shelter
- Root up to the ruins
- Temple stairs
- Shortcut bridge
- The First Flame
- Ash-covered descent
- Garden tunnel
- Bridge beyond the sanctuary
- Chasm lift tower
- Forest bridge landing
- Arena shortcut lift
- Ravine ladder
- Ravine waterfall
- Stepped rooftops
- Township shortcut lift
- Dungeon approach
- Humanity cavern
- Hidden Sif passage
- Royal Wood lift
- Final descent to the fog
Shortcuts & routes
- Waterwheel lift base ↔ Valley tunnel exit
- Jump into Nito's pit
- Cage lift shortcut ↔ First pendulum bridge
- Elevator to the princess's chamber
- First Seath chamber → Archive prison cell
- Carried by the crow to Firelink Shrine
- Crow nest: back to the Asylum
- Elevator: Undead Parish to Firelink Shrine
- Elevator: Firelink Shrine to New Londo Ruins
- Aqueduct shortcut (open from Lower Burg)
- Centipede tunnel to Lost Izalith
- Havel's watchtower: Undead Burg to Darkroot Basin
- Drop into the Abyss
- Sen's Fortress gate
- Carried to Anor Londo
- Enter the Painted World of Ariamis
- To the Kiln of the First Flame
- Pulled into the past: Oolacile
- Upper door to the valley
- Waterfall ladder to the forest
- Coffin journey to the Gravelord altar
- Leave the Painted World
- Opened Chaos shortcut to Izalith
- Chasm lift shortcut to the Royal Wood